Step-by-Step: DIY Stationery Packaging with BOPP Plastic


Introduction to DIY Stationery Packaging
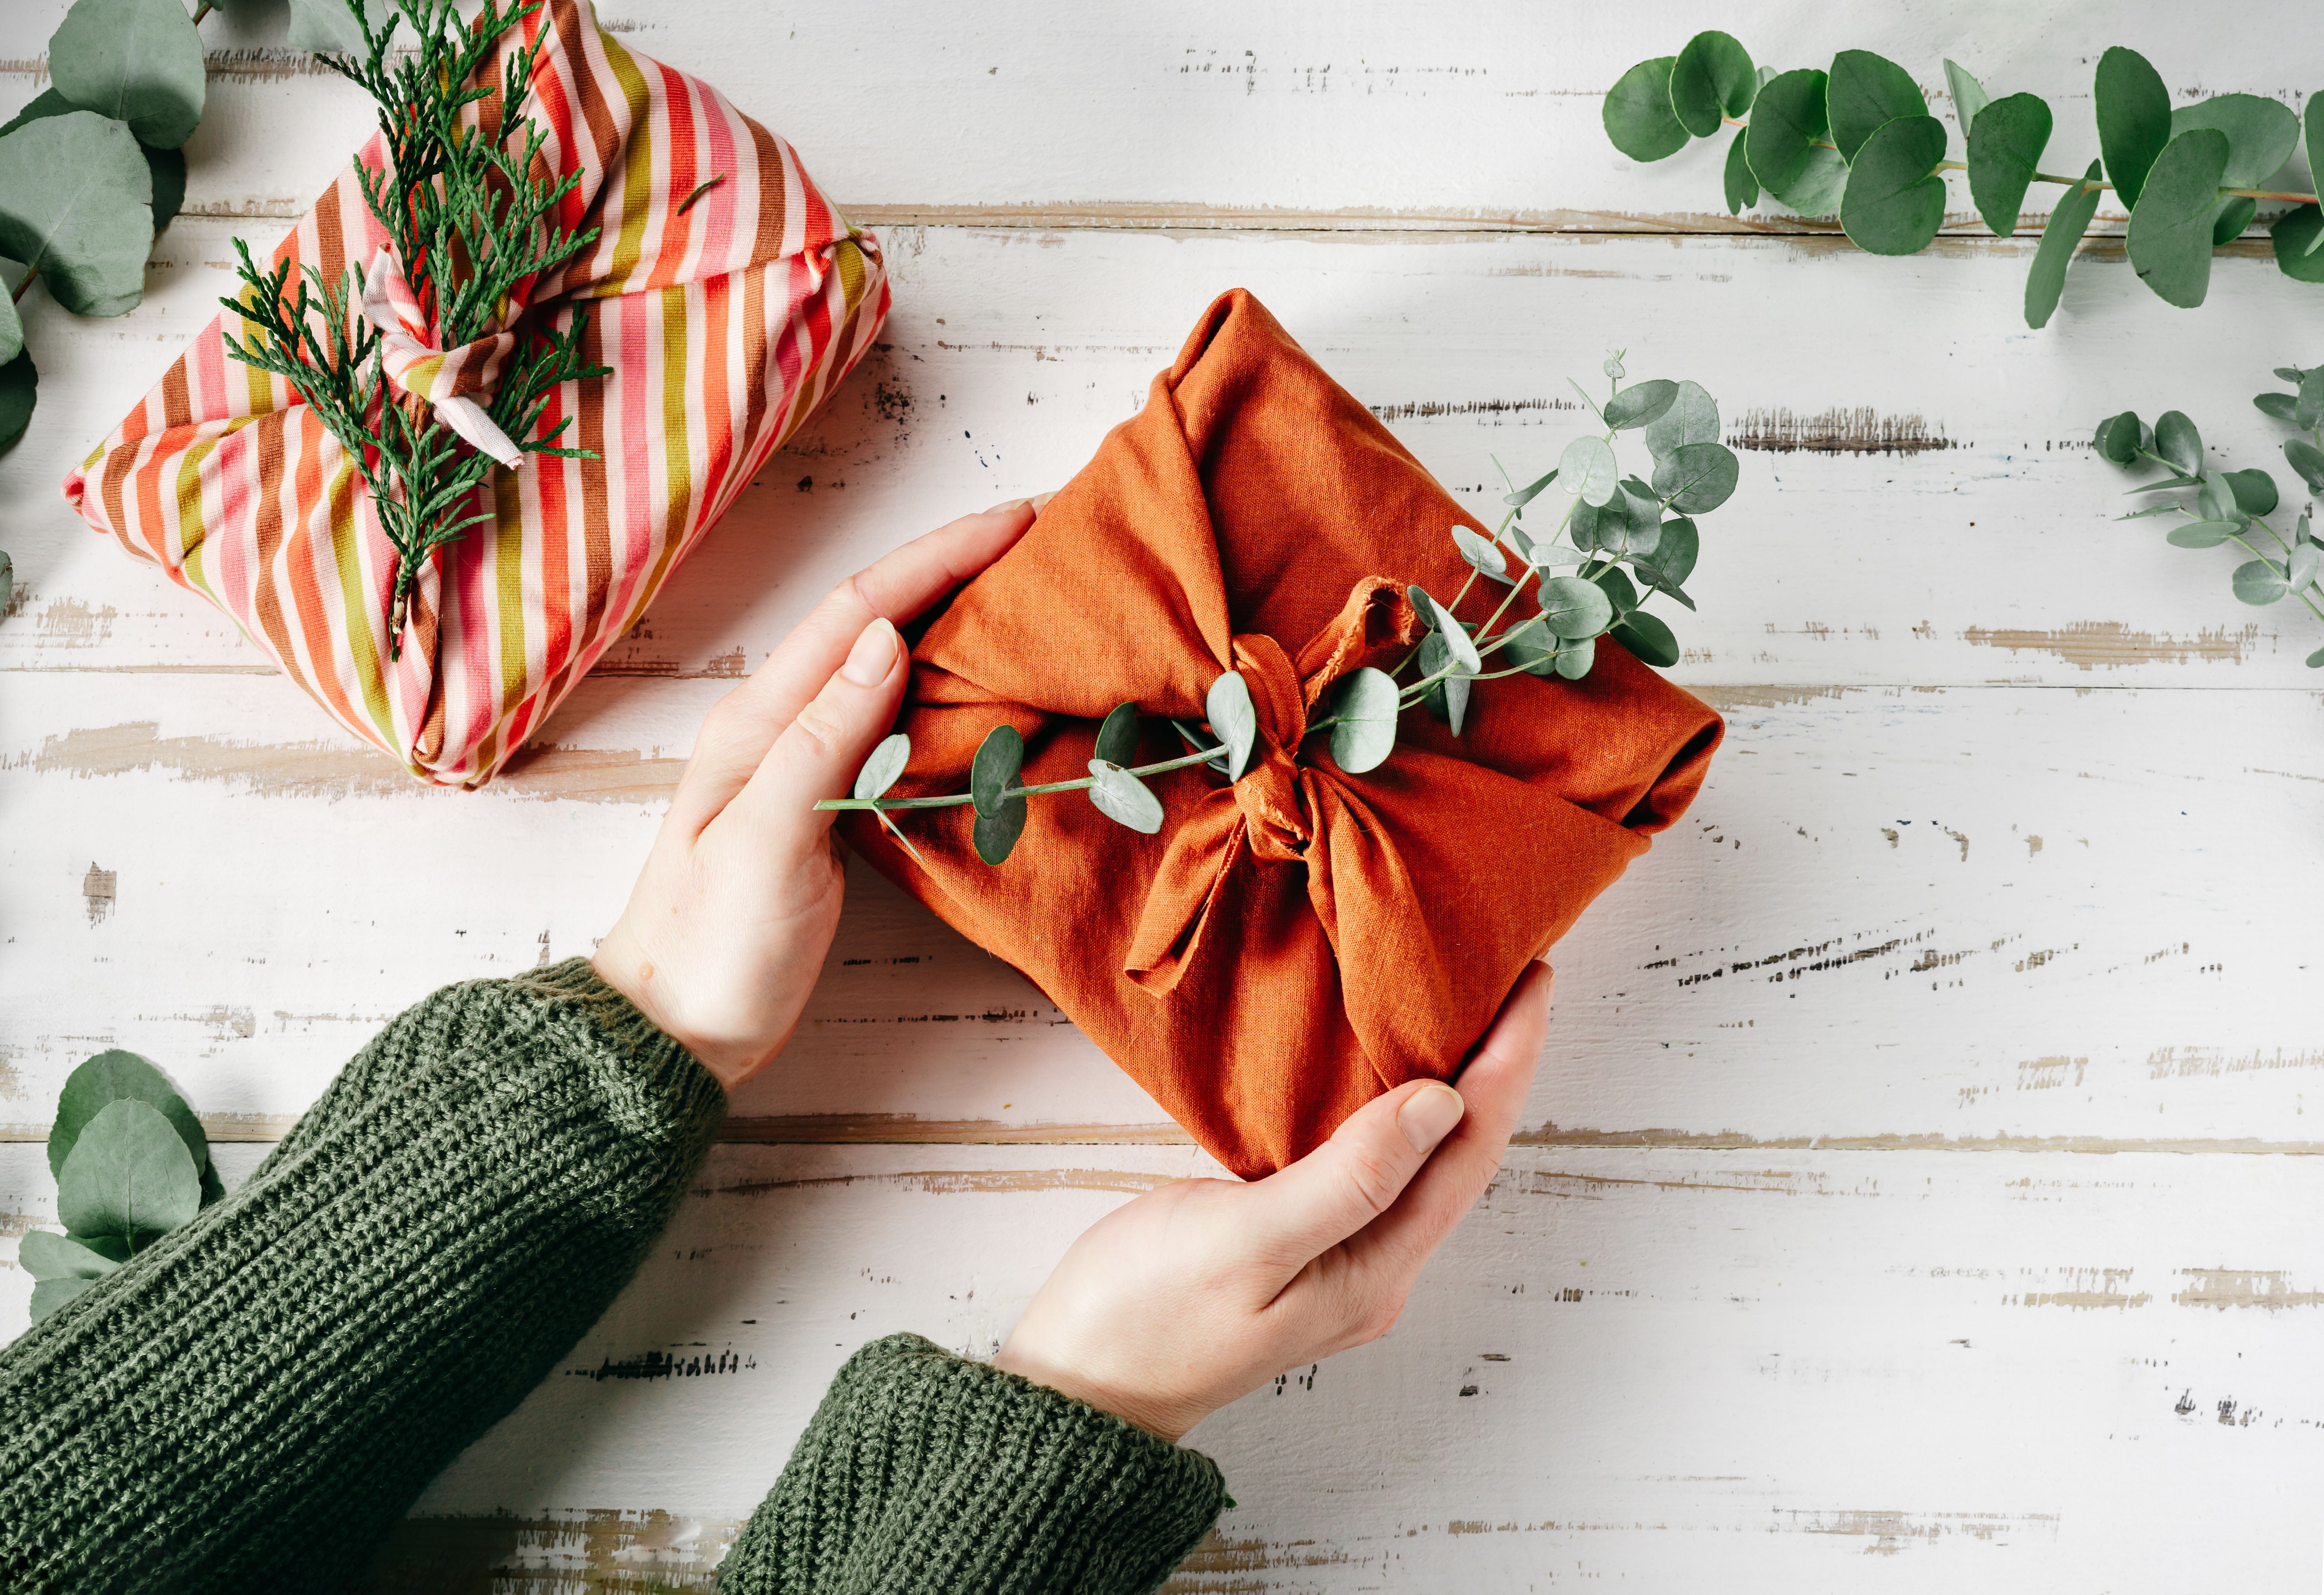
Creating your own stationery packaging not only adds a personal touch to your products but also allows you to customize designs that align with your brand identity. Using BOPP (Biaxially Oriented Polypropylene) plastic, a popular choice for packaging due to its clarity and durability, can elevate the presentation of your stationery. In this step-by-step guide, we will explore how to craft beautiful and effective packaging for your stationery items.
BOPP plastic is renowned for its excellent moisture resistance and high tensile strength, making it an ideal choice for packaging delicate stationery items. Its glossy finish enhances the visual appeal of your products, ensuring they stand out on the shelves. Let's dive into the process of creating your DIY stationery packaging.
Materials You Will Need
Before you begin, gather all necessary materials to streamline the process. Here's a checklist of items you'll need:
- BOPP plastic sheets or rolls
- Stationery items (cards, envelopes, etc.)
- Cutting tools (scissors or craft knife)
- Ruler and measuring tape
- Adhesive (double-sided tape or glue)
- Decorative elements (stickers, labels, ribbons)
Having these materials at hand will ensure a smooth workflow as you progress through each step.
Step-by-Step Packaging Process
Step 1: Measure and Cut
Start by measuring the dimensions of your stationery items. This will help you determine the size of BOPP plastic needed. Use a ruler or measuring tape to obtain precise measurements. Once you have the dimensions, cut the BOPP plastic accordingly using scissors or a craft knife.
Ensure that the plastic sheet is slightly larger than the stationery item to allow room for sealing and wrapping. This will provide a snug fit without damaging the contents inside.
Step 2: Assemble and Seal
Place the stationery item in the center of the cut BOPP plastic sheet. Carefully fold the edges over the item, making sure to keep everything aligned. Use double-sided tape or glue to seal the edges securely.
If your design includes a flap or envelope-style closure, ensure that it is easy to open and close. This not only protects your stationery but also adds a professional touch to the packaging.
Step 3: Add Decorative Touches
Once sealed, it's time to add decorative elements to enhance the appeal of your packaging. Consider using stickers or labels that reflect your brand logo or style. Ribbons can also be tied around the package for an elegant finish.
These small touches can significantly impact how your product is perceived, transforming simple packaging into an unforgettable experience for your customers.
Benefits of Using BOPP Plastic
BOPP plastic is not just functional but also environmentally friendly as it is recyclable. Its durability ensures that your stationery items are well-protected during transit and storage, reducing the risk of damage.
The clarity of BOPP plastic provides a clear view of the packaged contents, which is perfect for showcasing beautifully designed stationery. This transparency can entice potential buyers when displayed in retail settings.
Conclusion
By following these steps, you can create stunning DIY stationery packaging with BOPP plastic that not only protects but also highlights your products. This approach allows you to infuse creativity into every package while maintaining professional standards.
Embrace the versatility of BOPP plastic in your packaging endeavors and watch as it transforms your stationery into eye-catching pieces that leave a lasting impression on your customers.